Navigate to Yard → Whiteboard
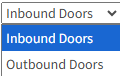
- If there are multiple sets of docks, use the dropdown near the top left to select required doors.
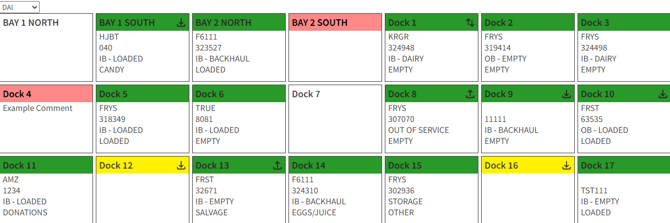
- Each block on the whiteboard represents a door, as indicated below:
- Empty doors are white.
- Occupied doors are green. The shade of green indicates how long the asset has been at the door.
- Yellow shows a trailer is scheduled for that door.
- Red means the door is closed and can’t be used
- Schedule a move into a dock:
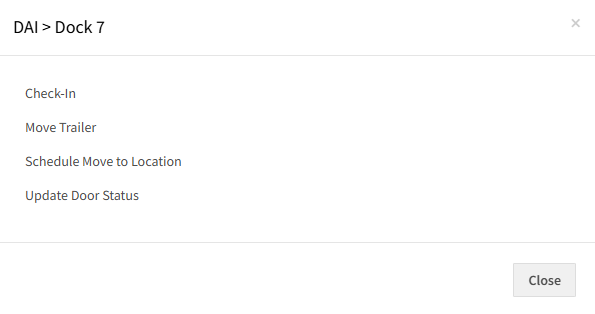
- Click on an empty door and select Schedule Move to Location.
- Select the criteria of the desired trailer. This can be generic such as an empty from a given carrier, or it can be very specific by selecting a trailer #.
- Select a priority for the move (1-high; 2-medium; 3-low) and optionally enter a note.
- Click Schedule to create a move task for spotters.
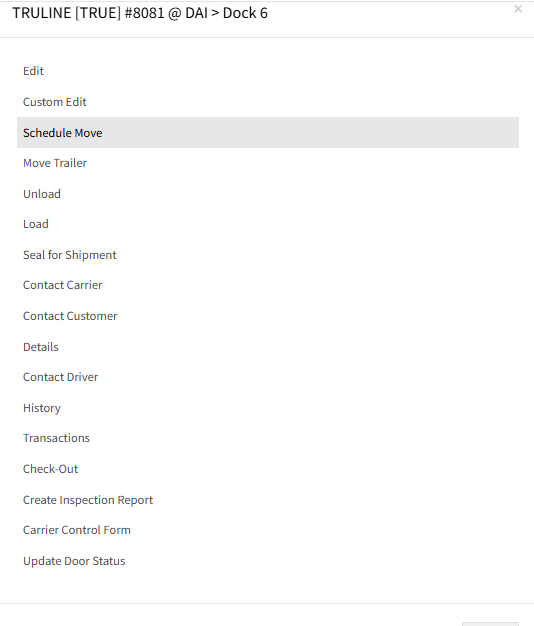
- Click on the required occupied door and select Schedule Move.
 Select the location the asset is to be moved to and complete any other optional field.
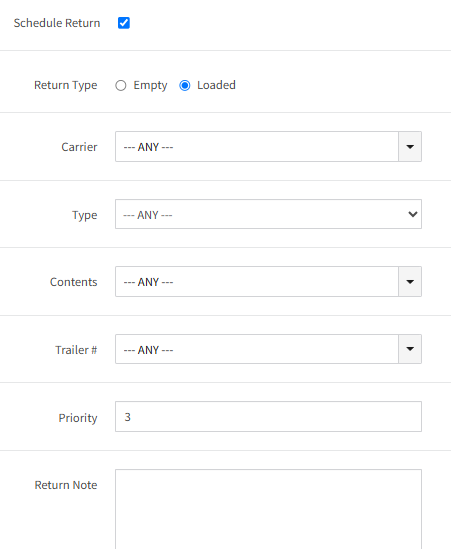
 - Optionally schedule a return trailer:
- Select the Schedule Return checkbox
- Select the criteria of the desired trailer. This can be generic such as an empty from a given carrier, or it can be very specific by selecting a trailer #.
- Click Schedule to create move task(s) for spotters.
- Select the location the asset is to be moved to and complete any other optional field.
- Cancel a scheduled move:
- From the Actions menu select Cancel Scheduled Move.
- Action > Schedule move
- Currently scheduled moves are listed. Click the move to be cancelled.
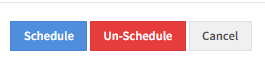
- Confirm by clicking the red Un-Schedule button at the bottom of the page.
- From the Actions menu select Cancel Scheduled Move.
- Close a dock door:
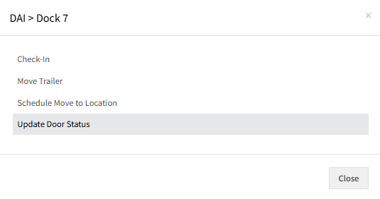
- Click on the door that should be closed and select Update Door Status.
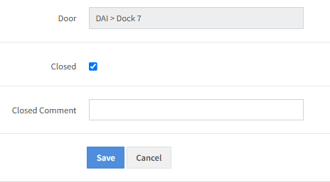
- Check the Closed box.
- Optionally enter a comment (this will appear on the whiteboard).
- Click the Save button.
- The closed door will no longer be available for moves or any activity.
- To re-open the door, follow the same instructions except un-check the Closed box.