
What is the Yard Check?
The Yard Check is a manual procedure that is initiated by someone at the site. The process is meant to methodically confirm or correct every asset and location registered within YMX OS.
Each Yard check will have a start date/time, as well as an end date/time. It generates a log detailing everything that was confirmed or corrected.
Starting the Yard Check
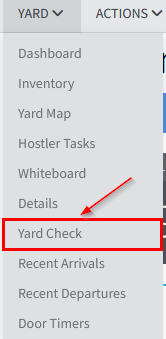
The Yard check window is accessed by clicking "Yard Check" under the "Yard" menu.
Click on the blue "Start Yard Check" button to begin the check. The button is only visible for users that have been granted access to the functionality.
The "Download Unchecked" button will save the UNKNOWN/UNCHECKED report (this same report is available at the end of a Yard Check). If clicked before the start of a Yard Check it will download the previous Yard Check's report. If clicked during an ongoing Yard Check, it will then download the current one.

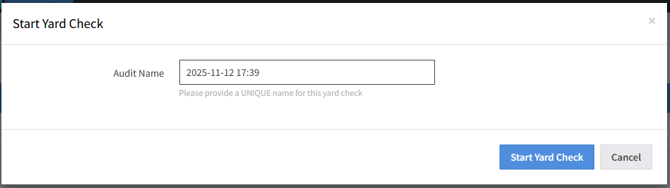
The user will see a new pop up window, where the Audit Name field is. This field comes prepopulated with the date and time the Yard Check is being started at, but the user can alter that to any text if needed. This name will be used to reference the yard check in lookups and reports.
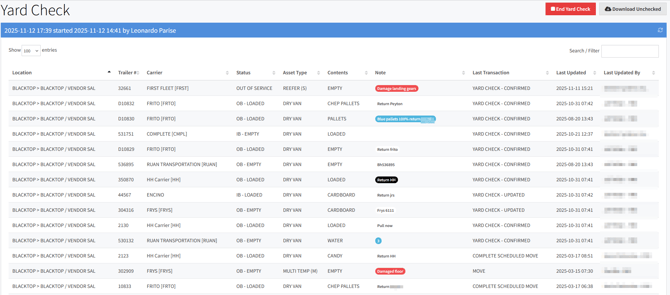
Once the check has been started, a list containing every location (and assets registered on those locations, if any) on the system will be shown. The blue banner bar will display the yard check name, when it was started, and by whom.
Performing the Yard Check
Clicking the entry of any asset will open a confirmation window. The system will display the asset and its corresponding details registered at that location or a checkbox indicating the location is believed to be vacant.
Possible Scenarios:
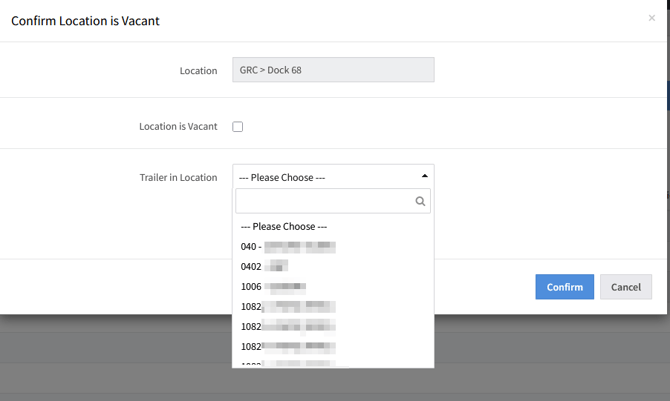
1. The system shows the location is vacant
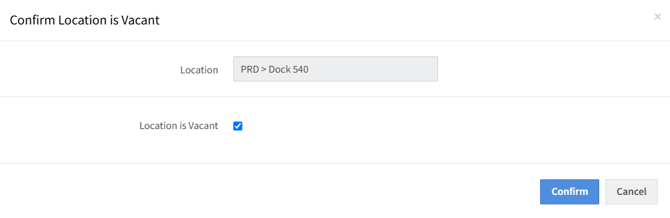
If the location is verified to be vacant, the user can then click the "Confirm" button
However, if there is an asset at the location, you will need to uncheck the "Location is Vacant" checkbox and select the asset number at the location within the list provided (see picture below).
A third possibility is that the asset occupying that location is not on the list. If this is the case, you will need to click the "Not Listed, Check-in" button below the list. This button will redirect you to the check-in screen to enter the asset's details. Once the check-in is completed, you'll be returned back to the Yard Check screen.
2. The system shows the location has an asset
A screen showing details of the asset is displayed.
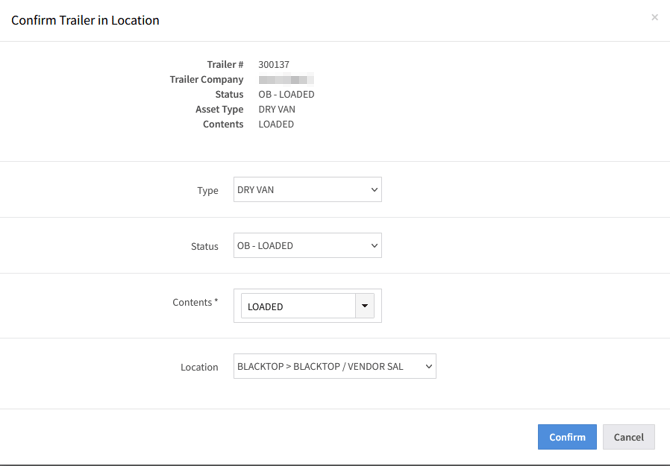
If the asset number is correct, you can update any of the details if needed, then click the "Confirm" button.
However, if the asset number does not match what is verified in the location, you will then change the location field to "UNKNOWN" and click the "Confirm" button. Once that is done, you can then click on the location (which is now displayed as vacant) and update it accordingly - if it is vacant, keep it as is, and if there's an asset on the location, select it on the list or check-in the asset if it is not on the list.
Once a Yard Check row has been completed, it will drop from the list and you can continue to the next row. Every activity will be logged.
Completing a Yard Check
Once the check is finished, click the red "End Yard Check" button (its location will be the same as the Start button). The visibility of the "End Yard Check" button is the same as the "Start Yard Check", meaning only users who were granted access to the functionality can see it.
![]()
A confirmation screen will pop up to ensure that the check isn't stopped by mistake.
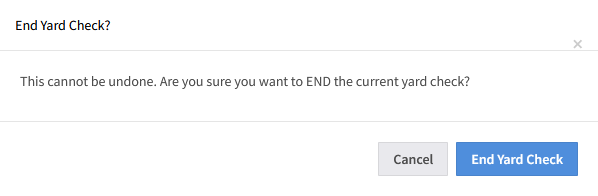
A Yard Check that has ended cannot be restarted. If a Yard Check is stopped, even by accident, a new one will need to be started and everything will need to be re-checked.
Optionally, the system can be configured to send an email to a distribution list notifying them that a yard check is complete and it will include a listing of all assets that might need to be reviewed (those in location UNKNOWN) and also all locations that were not checked.
Verifying the Yard Check reports
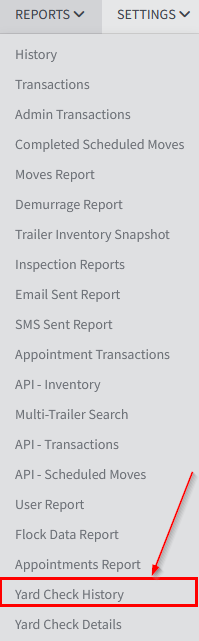
To verify the Yard Check report, go to the "Reports" menu and click Yard Check History.
The Criteria can be adjusted to show every Yard Check report between the selected Start and End date. The list of reports can also be searched and sorted per column, if needed.
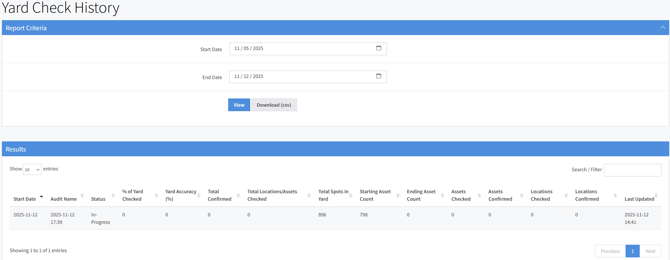
What each column means:
- Total Spots in Yard: Shows the total amount of locations the site had to receive assets, including both empty and loaded locations
- Starting Asset Count: Shows how many assets were present on YMX OS when the Yard Check Started
- Ending Asset Count: Shows how many assets were present on YMX OS when the Yard Check ended
- Assets Checked: Shows how many asset entries were clicked and checked
- Assets Confirmed: Shows how many assets didn't need an update
- Locations Checked: Shows how many locations were clicked and checked
- Locations Confirmed: Shows how many assets didn't need an update
Clicking any of the reports will open a detailed list view of every action done during the Yard Check, including updates and confirmations, as well as the start and end of the Yard Check.
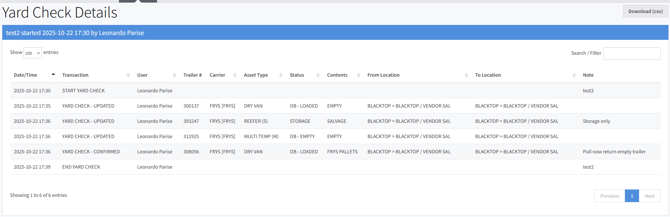
This list can also be sorted by column and searched, and a CSV file can be downloaded by clicking the "Download (csv)" button located in the top right of the list.